
What Is the Best Home Brewing Kit for Beginners in Australia
Oct 09, 2026
You're standing in the garage or scrolling at 11pm, half a beer in hand, staring at three starter kits that all swear they're the “best”. One's cheap, one's shiny, one looks like it belongs in a pub cellar, and none of them tells you whether it'll cope with a Queensland summer or just turn your first batch into a sticky mess.
The question isn't what is the best home brewing kit for beginners in some abstract, internet-forum sense. The question is which kit teaches you the basics properly, fits Australian rules, and survives Gold Coast heat without turning brew day into a guessing game. If you get that right, the hobby gets fun fast. If you get it wrong, you buy twice.
Why the Best Kit Question Is Harder Than It Looks
A beginner doesn't need the fanciest box on the shelf. You need a kit that helps you learn measurement, sanitation, temperature control, and repeatability without making you feel like you've signed up for a chemistry degree.
That's why the glossy “all-in-one” pitch often misses the mark. A bucket, a spoon, and a recipe pack might get beer into a fermenter, but they don't teach you much about whether fermentation is finished, whether the temperature drifted overnight, or whether the batch stayed clean all the way to bottling. The Australian Taxation Office makes the legal line clear, beer made for non-commercial purposes with non-commercial equipment is not excisable, and it must not be sold or offered for sale, which means a home setup should be built for personal batches, not commercial pretence. ATO guidance on non-commercial home-brew beer
For a Gold Coast beginner, climate matters as much as the kit branding. Warm ambient conditions can push fermentation harder than you expect, so a kit that supports temperature awareness beats a bare-bones package every time.
Practical rule: buy the kit that makes clean, repeatable beer easier, not the one that shouts the loudest on the box.
Start with the job, not the label
If you want to bottle at home, you need enough equipment to fill, cap, and store bottles properly. If you're tempted by kegging later, that's fine, but don't pay for complexity you won't use in batch one.
A smart first purchase is a complete domestic kit with clear instructions, proper sanitation gear, and a hydrometer. That's the difference between learning the process and just following a packet.
Anatomy of a Beginner Home Brewing Kit
A proper beginner kit isn't one item, it's a system. The fermenter holds the beer while yeast does its work, the airlock lets gas escape without letting outside air bully its way in, and the sanitiser keeps unwanted microbes out of the party.
The hydrometer is the bit too many cheap kits skip. Think of it as your fuel gauge. It lets you measure specific gravity before and after fermentation, estimate alcohol content, and check whether the yeast has finished the job before you bottle.
What each part actually does
- Fermenter: This is the controlled sleeping bag for your yeast. It needs a tight lid, food-grade material, and enough capacity for a domestic batch.
- Airlock: This vents fermentation gas while keeping airborne muck out.
- Hydrometer: This turns brewing from guesswork into measurement.
- Thermometer: This tells you whether your yeast is working in a sensible range or sweating through a hot afternoon.
- Sanitiser: This protects the batch during every contact point after cooling.
- Bottling wand: This helps fill bottles cleanly and reduces splashing.
- Bottles and caps: These finish the job, but only if they're sanitised properly before filling.
If you've ever opened a recipe kit and found it missing the gear that makes the process manageable, that's not a beginner kit. It's a shopping list in a box. If you want a plain-language example of how a complete starter setup should read, the layout used in a sourdough starter kit with instructions shows the same principle, clear tools plus clear guidance, rather than mystery gear.
What to avoid
Avoid scratched buckets, soft tubing you can't inspect, and awkward valves full of crevices. Those are the places where cleaning gets sloppy and batches go sideways. Australian food-safety guidance also puts weight on potable water, clean equipment, and food-contact surfaces that are cleaned before sanitising, which is exactly the mindset a brewer should borrow. Food Standards Australia New Zealand home-industry guidance
Capacity, Complexity and Cost the Smart Way

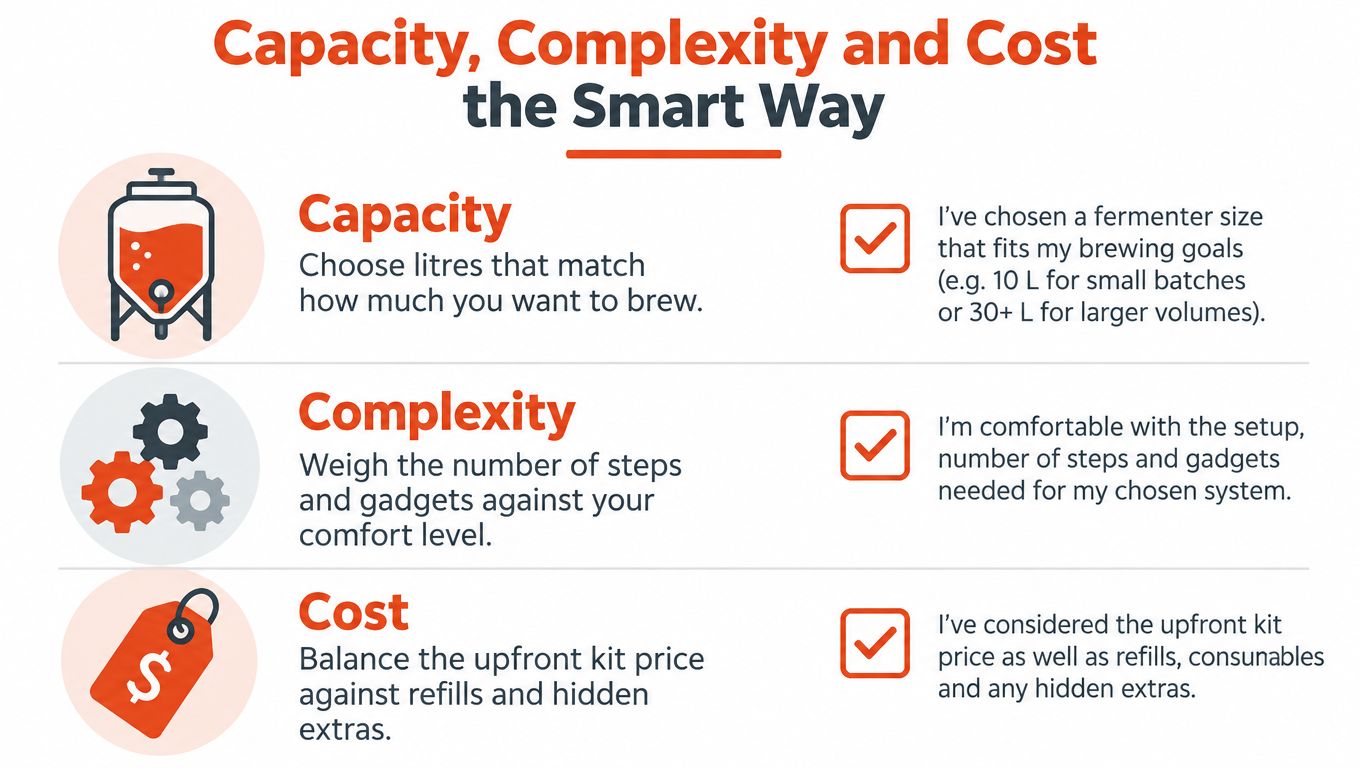
Capacity is the easy part. For most Australian beginners, a 20 to 30 L fermenter is the right size. It gives you enough headroom for a proper domestic batch without turning lifting, cleaning, or bottling into a chore.
Complexity is where beginners get burned. A kit that looks fancier is not automatically better, especially if it adds fiddly parts you will never use. A temperature-controllable fermentation system is worth far more than a bucket full of plastic extras, because stable fermentation gives you repeatable beer. For a full comparison of complete setups, see our guide to the best beer brewing kit Australia has to offer for first-time brewers.
Cost is where the trap sits. Cheap starter packs often leave out sanitiser, bottles, caps, or a proper thermometer, then expect you to fill the gaps later. The bargain kit ends up costing more than the complete one.
Spend once on the parts you will use on every batch. That is where the beer is won or lost.
Cheap starter packs also tend to cut corners on smooth, inspectable fittings, which is where cleaning gets harder and replacement costs creep in. A kit with plain, easy-to-check surfaces saves money twice, first at purchase and again every time you clean it.
The cleanest way to think about budget is simple. Buy the kit that already includes the tools you will use on every batch, then add only the extras you need. A hydrometer, a proper sanitising workflow, and a way to monitor temperature do more for beer quality than a box full of shiny nonsense.
Extract Kits vs Partial Mash vs All Grain
How craft beer is made gives you the broad brewing picture, but beginner kits are really about how much control you want on day one. Extract is the express lane, partial mash is the bridge course, and all grain is the full trade path.
If you want the simplest start, extract brewing is the move. The malt work is already done, so your job is to combine, ferment, and package. If you want more control without jumping straight into the deep end, partial mash gives you more involvement while still keeping the gear manageable. All grain gives you the most flexibility, but it also asks for more time, more cleaning, and more discipline.
Comparing Beginner Brewing Styles
| Style | Typical brew day | Starter cost (AUD) | Skill payoff | Best for |
|---|---|---|---|---|
| Extract | Short and straightforward | Lower | Fastest path to understanding fermentation | First-timers who want a clean entry |
| Partial mash | Longer, with more hands-on steps | Mid-range | Better control over flavour and process | Brewers who like tinkering |
| All grain | Longest and most involved | Highest | Deepest learning and recipe freedom | Brewers ready to commit |
The style matters because it changes the kit you should buy. If you choose extract, a solid fermenter, hydrometer, sanitiser, and bottles are the core. If you choose all grain, you're buying into a longer brew day and a lot more equipment discipline.
Good beginner move: start with the method you'll actually repeat, not the one that sounds toughest on a forum.
If you want an easy-drinking reference point for flavour balance, Carbon Dry Lager is a crisp, 4.6% ABV lager made for everyday drinking. That kind of profile is useful to keep in mind when you choose your first recipe, because your first batch should taste like something you actually want to finish.
Your First Brew Day From Starter to Bottle
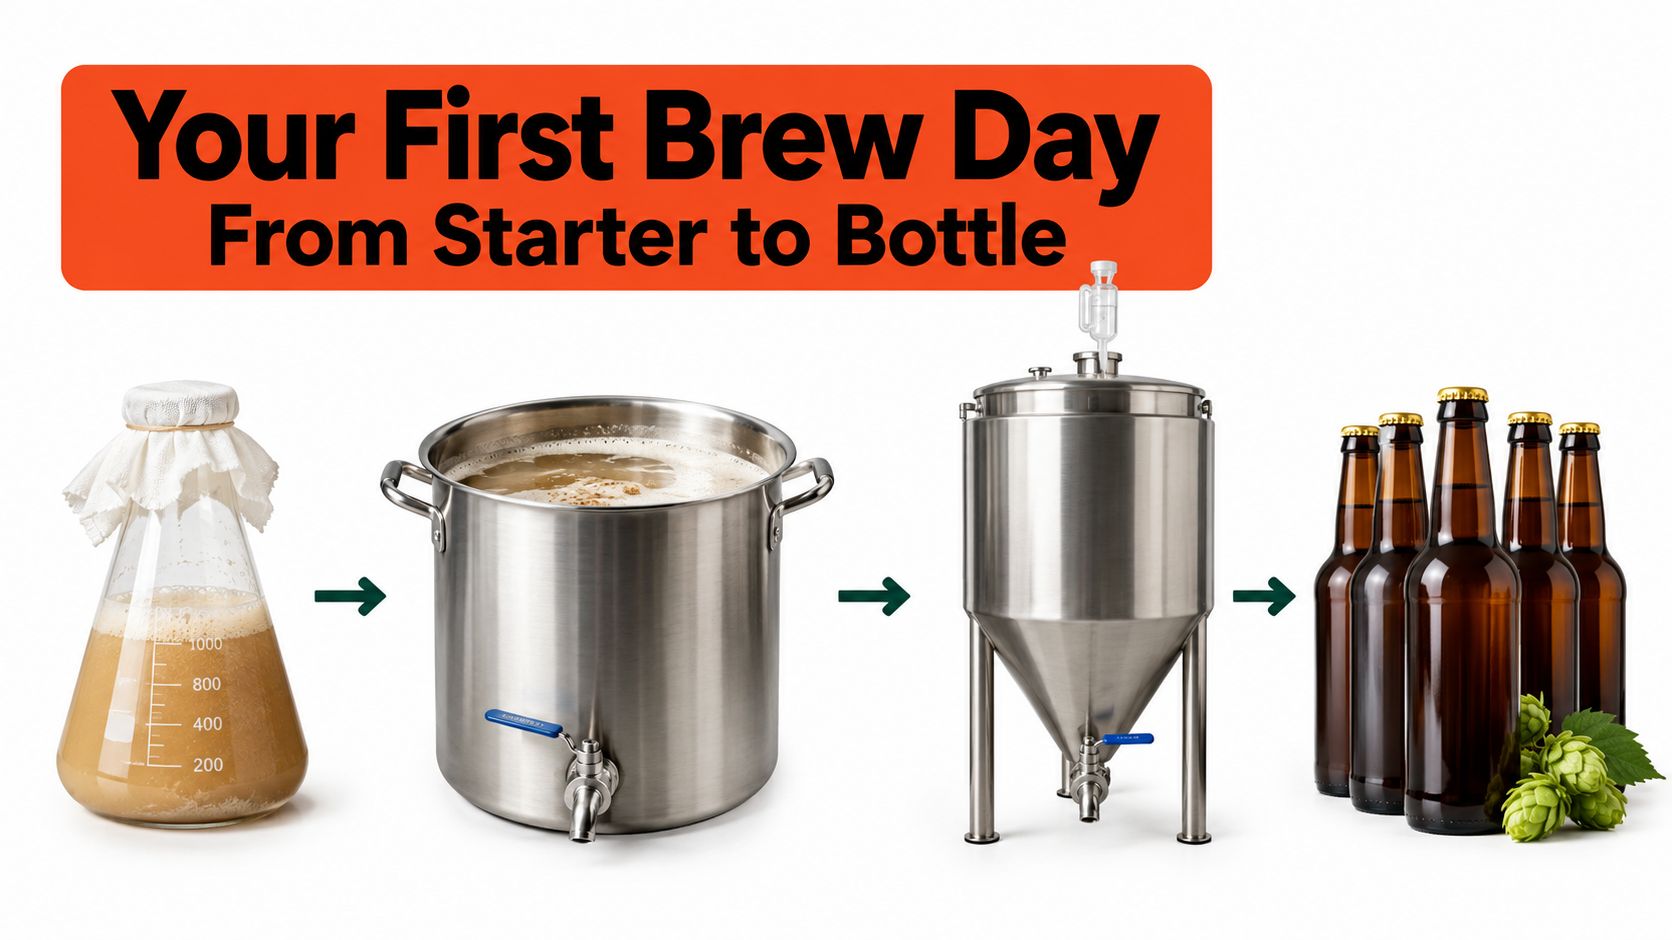
A good first brew day doesn't need drama. It needs a clean bench, a clear setup, and a fermenter that can sit somewhere sensible while the yeast does the hard work.
Start by sanitising everything that touches cooled wort or beer. Then mix, cool, and pitch yeast without mucking around. Once the fermenter is sealed, keep an eye on the temperature and leave it alone. That last part matters more than most beginners think.
The simple flow
- Prep the gear: Clean first, then sanitise. Don't skip the cleaning step.
- Move through the boil or extract stage: Keep the process steady and follow the recipe.
- Cool before pitching: Yeast likes control, not a boiling-hot surprise.
- Seal the fermenter: Fit the lid and airlock properly.
- Check gravity: Use the hydrometer on day one, then again when fermentation should be near finished.
- Bottle only when readings are stable: Don't bottle because the airlock looks quiet.
For Queensland summers, temperature awareness is gold. A fermenter tucked in a laundry, laundry cupboard, or insulated chamber will usually behave better than one sitting in a hot garage. A cheap stick-on thermometer strip can save a batch because it shows you when the vessel has drifted into uncomfortable territory before the yeast throws a tantrum.
If you want a useful leftover from brew day, baker's spent grain bread is a smart way to use the grain instead of binning it. It's a handy kitchen habit once you're beyond batch one and want to get more use out of the process.
Keep the packaging side simple too. Bottles rated for carbonation, clean caps, and a bottling wand make the finish line easier. The best beginner kit makes each of those steps obvious, not mysterious.
Three Costly Mistakes First-Time Brewers Make
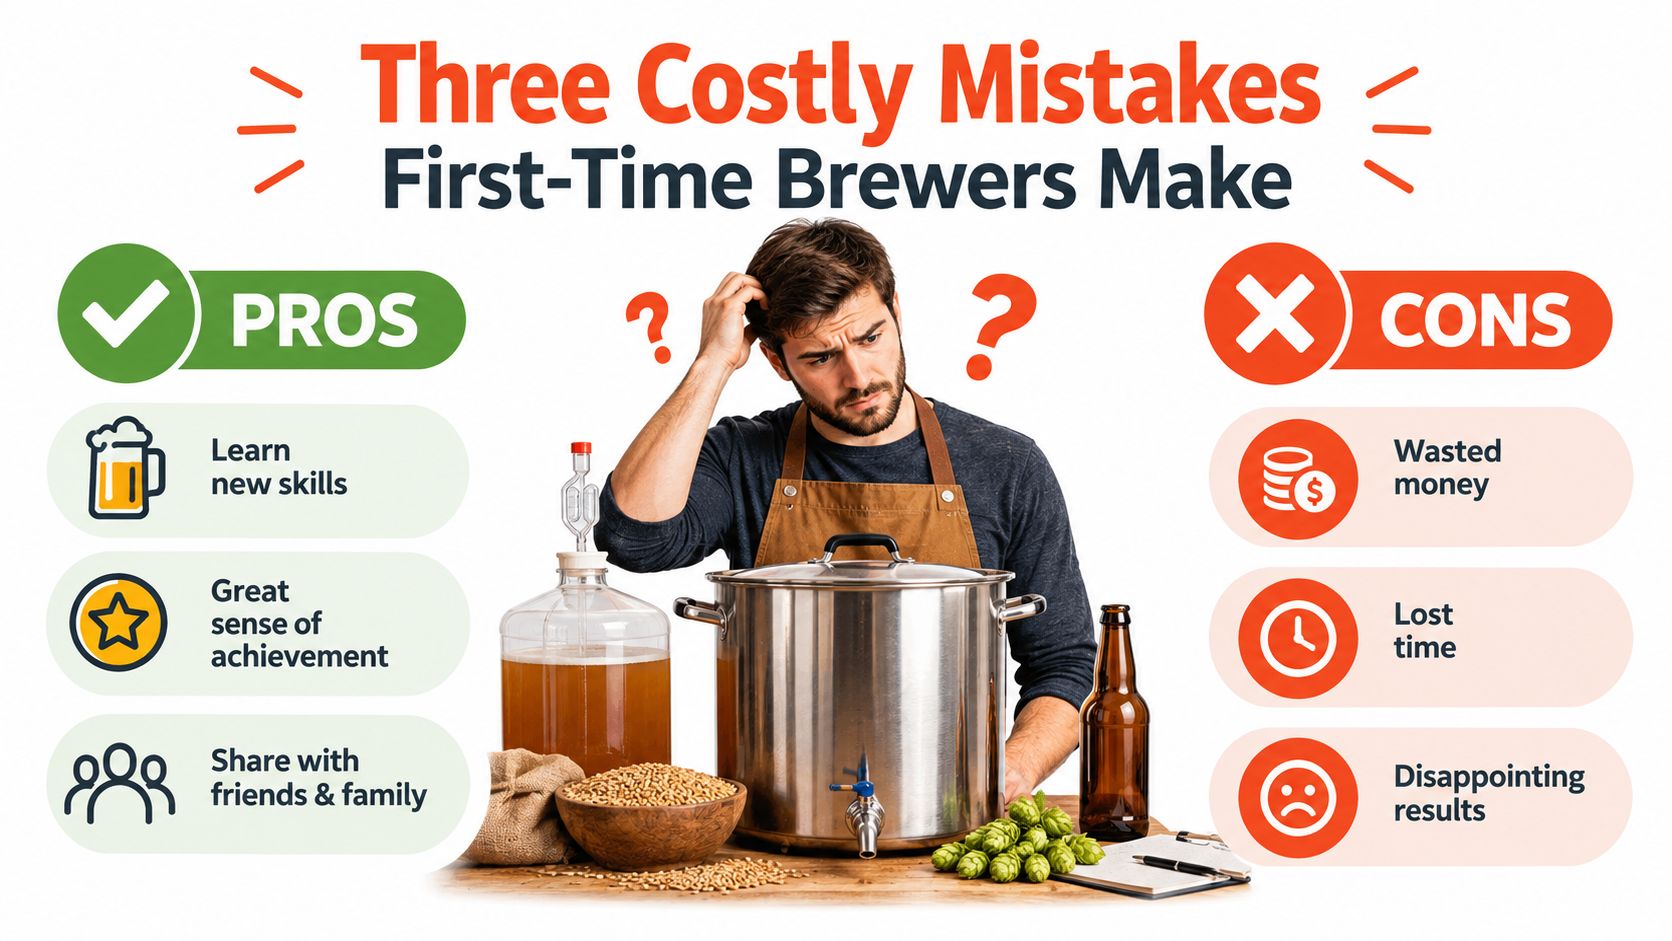
The first mistake is skimping on sanitising gear and treating it like a side note. A beginner kit can still fail if you reuse random household products and leave cooled wort exposed to dirty surfaces. Keep every contact point clean, then sanitise it properly.
The second mistake is buying cheap plastic that is already scratched, cloudy, or porous. Once a fermenter is damaged, it holds onto residue and is much harder to clean properly. A scratched fermenter cannot be sanitised to the standard a food-contact vessel needs, which is why a small saving on plastic can turn into a dumped batch.
The third mistake is ignoring heat until the yeast has already gone off track. Queensland garages get warm fast, and unstable temperatures change both flavour and fermentation speed. Put the fermenter where the temperature stays steady, not where it is only out of the way.
What to fix before you click buy
- Sanitiser: Put a dedicated no-rinse or food-safe sanitiser in the cart with the kit.
- Plastic quality: Check the fermenter for scratches, cloudiness, and poor-fitting parts.
- Temperature control: Buy a thermometer and choose the fermenter's spot before brew day.
A clean routine matters because bad sanitising habits create avoidable faults. For a clear local guide, see Carbon 6 Brewing's sanitising brewing equipment guide and compare it with your own setup.
If you are brewing at home in Australia, keep the legal and practical side simple too. Home batches are one thing, selling beer is another, and ABAC rules still matter any time you talk about alcohol publicly. Start with a kit that is easy to clean, easy to control, and built for a hot garage, not a showroom shelf.
Where Brewing at Home Connects to the Local Craft Scene
Home brewing teaches you how grain, hops, yeast, and temperature change what lands in the glass. That's the same thinking independent breweries use every week, only with bigger tanks and less forgiveness when they get lazy.
The point isn't to replace the pub. It's to sharpen your palate, understand why one beer feels crisp and another feels heavy, and make better choices when you buy. Australia's alcohol marketing rules also matter here, so any beer content should stay adult-focused, avoid minor appeal, and steer clear of reckless drinking cues. ABAC guidance on alcohol marketing
Keep it simple after your first batch. Write a brew diary, taste beers side by side at a local taproom, and brew the same recipe three times before you start changing everything. That's how you learn what really moved the needle.
The brewer who pays attention to one variable at a time learns faster than the brewer who keeps fiddling with everything.
Start with a complete, temperature-aware kit, not a shiny distraction. If you want finished beer as well as a better feel for how the local scene approaches flavour, freshness, and balance, visit Carbon 6 Brewing Pty Ltd and compare what the pros are doing with what you're building at home.